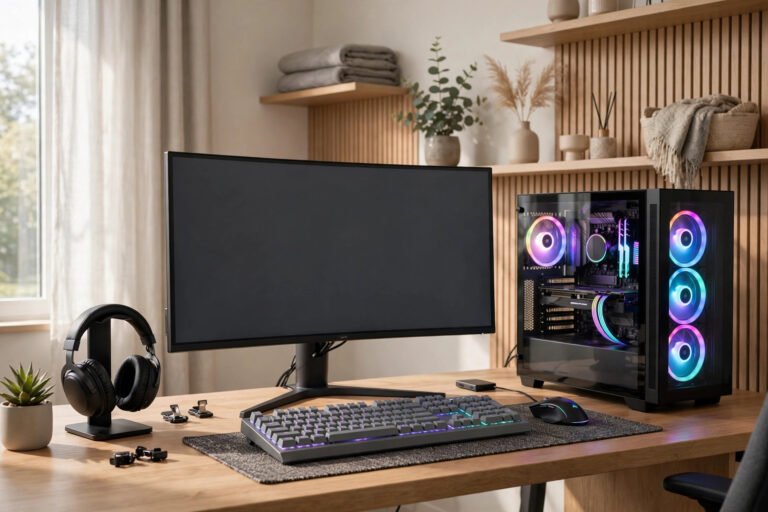

Regular cleaning keeps mechanical switches feeling snappy and prevents sticky keys
Dust, crumbs, and finger oils build up in a mechanical keyboard faster than most people realise, and a genuinely dirty board can cause sticky keys or unreliable actuation, not just look grim. Cleaning it properly isn’t complicated, but doing it safely takes a bit more care than wiping down a desk.
How Often Does a Gaming Keyboard Actually Need Cleaning
A quick surface clean with compressed air takes about two minutes and is worth doing weekly if you eat near your setup or have pets. A more thorough clean involving keycap removal and isopropyl alcohol is generally recommended every one to two months for regular use, while a full deep clean with keycap soaking is more of an annual or twice-yearly job unless the board has visibly heavy grime.
Quick Clean (2 Minutes, No Disassembly)
Unplug the keyboard first, always, to avoid accidental key presses or electrical issues during cleaning. Hold the keyboard at an angle and use compressed air to blow dust out from between the keys, working in short bursts rather than one continuous spray. Wipe the surface and gaps between keys with a slightly damp microfiber cloth, never a soaking wet one, since moisture pooling around switches is the main risk at this stage.
Deep Clean (20-30 Minutes, Keycaps Removed)
Step 1: Document Before You Start
Take a clear photo of the full keyboard layout before removing anything. This sounds unnecessary until you’re staring at 100+ identical-looking keycaps trying to remember exactly where each modifier and function key belongs.
Step 2: Remove Keycaps Carefully
Use a proper keycap puller rather than fingernails or a flathead screwdriver, which risk scratching keycaps or bending switch stems. Remove standard keys first, saving the spacebar and other stabiliser-wired keys (Enter, Shift, Backspace) for last, since these need a slightly different technique to avoid stressing the wire stabiliser underneath.
Step 3: Clean the Exposed Switches and Plate
With keycaps off, use compressed air and a soft brush (an unused, soft-bristled toothbrush works well) to clear debris from around the switch stems. For stubborn grime, lightly dampen a cotton swab with isopropyl alcohol (70-99% concentration) and clean carefully around, not directly into, the switch opening, changing swabs frequently to avoid leaving fibres behind.
Step 4: Wash and Dry Keycaps Separately
Soak keycaps in warm water with a small amount of mild dish soap, then rinse thoroughly and lay them out on a lint-free towel to air dry completely, which typically takes 10-15 minutes minimum. Never reinstall keycaps while they’re still damp, since trapped moisture around the switch stem can cause longer-term problems.
Comparison: Quick Clean vs Deep Clean
| Quick Clean | Deep Clean | |
|---|---|---|
| Time required | 2 minutes | 20-30 minutes |
| Keycaps removed | No | Yes |
| Tools needed | Compressed air, microfiber cloth | Keycap puller, brush, isopropyl alcohol, mild soap |
| Recommended frequency | Weekly | Every 1-2 months |
What to Avoid
Never submerge the keyboard’s main circuit board or use excessive water anywhere near the switches themselves, since keyboards (unlike some fully waterproof peripherals) generally aren’t designed to handle that. Avoid household glass cleaners or ammonia-based products, which can degrade keycap plastic and switch housings over repeated use. If you’ve had a genuine liquid spill rather than routine dust, unplug immediately, flip the keyboard upside down for at least 30 minutes to drain excess liquid, then follow the full deep-clean process before testing.
Once your keyboard’s sorted, our gaming mat guide covers keeping the rest of your desk surface in similarly good shape.
Frequently Asked Questions
Can I clean a gaming keyboard without removing the keycaps?
Yes, for routine dust and light debris, compressed air and a damp microfiber cloth handle most of it. Keycap removal is only necessary for sticky keys or visible grime around the switches.
Is isopropyl alcohol safe for all keyboard switches?
Generally yes at 70-99% concentration, since it evaporates quickly and doesn’t leave residue, but always apply it to a cloth or swab rather than pouring or spraying it directly into the switch housing.
How do I know if my keyboard needs a deep clean versus a quick clean?
If keys feel sticky, register inconsistently, or you can see visible debris around the switches even after a surface clean, it’s time for the full keycap-removal process rather than another quick pass.
Final Thoughts
A weekly compressed-air pass and a proper deep clean every couple of months keeps a mechanical keyboard feeling responsive for years rather than months. The process is straightforward as long as you’re patient with drying times and gentle with the switches themselves.
About the Author